Pages

Friday, June 20, 2014

RSN Goldwork: . . . . . I'm finished!

So today at about 4:30pm, I finished all the embroidery work for my RSN Goldwork piece.  Pretty excited to say the least, especially after the previous 2 modules took a bit of time after I got home!  All I have to do now is mount it and send it off for accessment.  Yippee!

I thought I would share a couple notes on the "challenges" of this piece:

- The intersections where the blossoms overlapped the stem were especially challenging because it meant that the cutwork needed to meet the pearl purl outlining the blossoms and leaves nicely and appear to go smoothly...all while trying to keep my angle from section to section.  It took me a good number of tries and I will be honest at one time I had to take a bit of a break and go get breakfast at Leonards across from Tracy's studio.  It was a really great challenge for me though and I'm glad that I've done it.  Tracy showed me how I could gently shift the pearl purl out of the way so the smooth purl would sit nicely.  I also found that it was easier to work on those areas by working ground fabric side into blossom intersection than the other way (so I was tucking the stitch into the highest part). 

- At about 3pm today I realized that I had one small stem that overlapped my cutwork.  Panic set it.  How in the world do I cross the cutwork without cracking it?  Ahh!!!!  Tracy's suggestion was to mold it into shape and strategically stitch it down on either side of the stem.  One of her student's had done this for a pair of bird's feet to great success.  It was tricky and I did hit the smooth purl once (thankfully the tiny nick came out), but I think it worked.  It was an unexpected extra detail that I kind of love!

- The biggest challenge in this piece was how the elements overlapped and had lots of intersections.  Something to consider when designing the next piece!  I'm really wanting to do this design again but introduce some color into the mix. 


Thursday, June 19, 2014

Tuesday, June 17, 2014

RSN Goldwork: Progress Catch-up

 Progress at end of Day 4 of class
Progress in the middle of the weekend
 I just loved how the stitches on the back looked like beautiful pad stitching or chicken feet and had such a lovely rhythm to them.
 Progress at end of weekend.  4.5 leaves down.  1/2 a leaf to go (plus the outline of 2 of them).
 Plunging!!!


 Progress at end of Day 5 of class.  Outlining 2 leaves and working on the buds and blossoms tomorrow!


Thursday, June 12, 2014

RSN Goldwork: Day 3


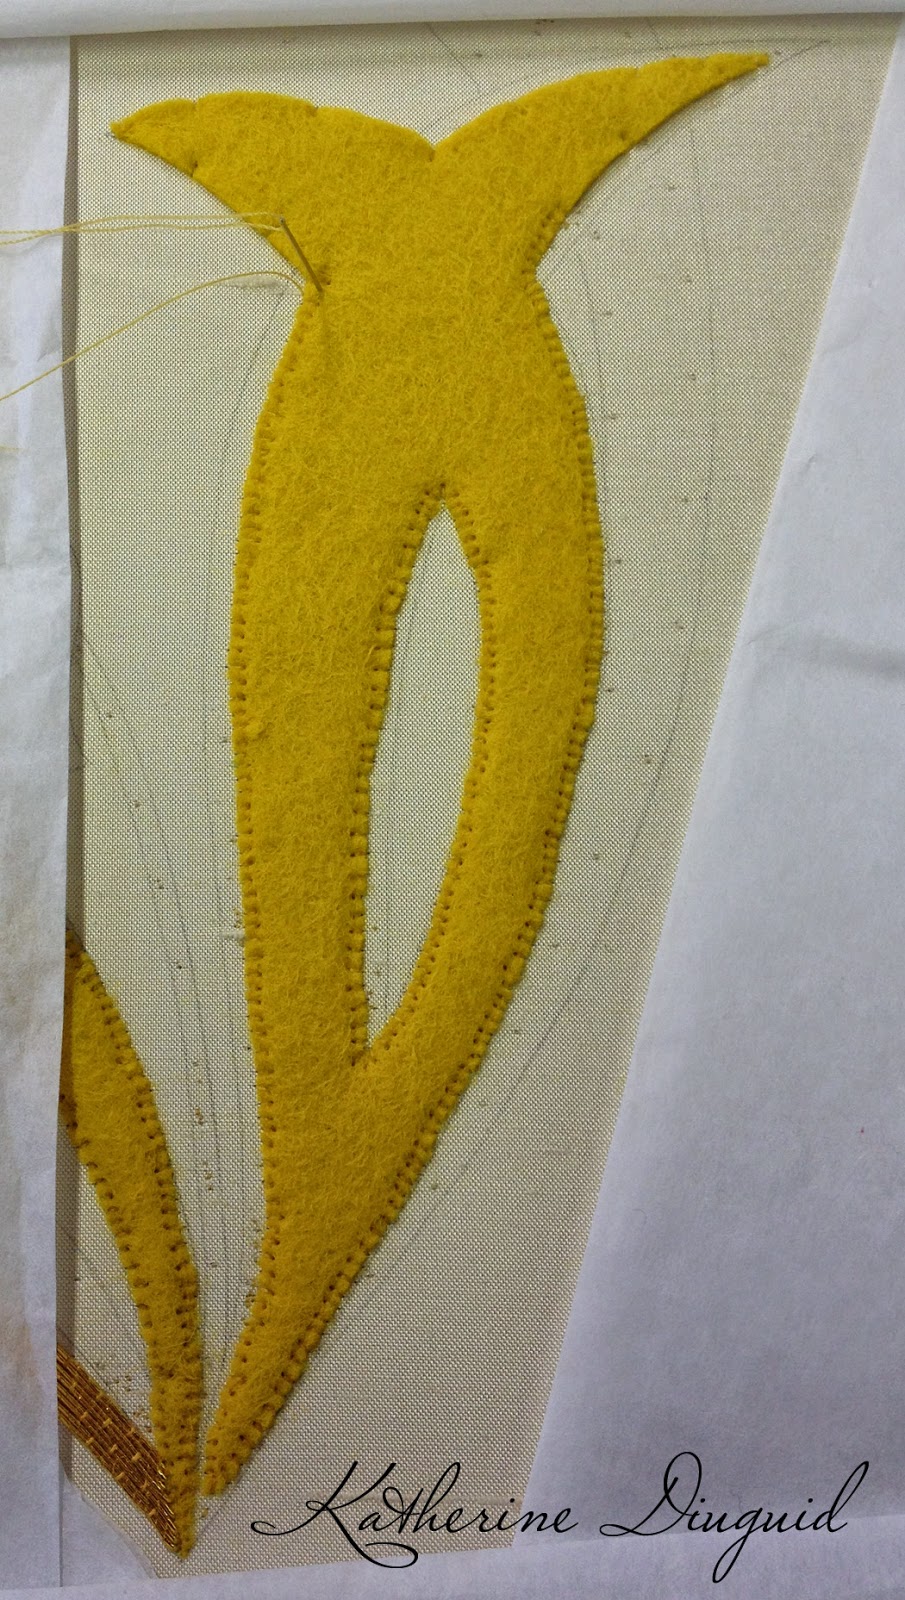
 Applying the first layer of felt padding
 One leaf down, 4 to go!
Progress at end of Day 3

Wednesday, June 11, 2014

RSN Goldwork: Back in Durham

 I am very excited to be back in Durham stitching with some wonderful women at Tracy Franklin's studio.  Monday morning, I got off the airplane, took the train, dropped things off at my hotel and went and walked around.  There was a tour of Durham Castle starting so I joined it.  I had never seen the inside and it was beautiful!  

This time in Durham, I am starting my goldwork module for the RSN Certificate.  When I was starting to plan my design, Tracy recommended that I look at Art Nouveau or Art Deco for reference.  I love the jewelry from these design movements, so started there--with lily of the valley!  Iconically they are my two favorite design periods so I was quite excited about the suggestion.  I wanted the piece to have the flow of Art Nouveau lines and feel fairly simple so I could add the complexity/interest with the stitches and gold threads/wires that I choose. 

Calico framed up, silk long and shorted on, design transfered, design stab stitched . . . ready to start stitching!
 final design
progress at end of Day 2

Friday, June 6, 2014

RSN Silk Shading- finished!

I have finally finished my silk shading for my RSN Certificate!  I look it off my frame last night.  Thank you everyone for your kind and encouraging words with this project!  Now onto Goldwork- yippee!!!!

Here are a few images of the final.  When I was in Williamsburg, Tracy Franklin kindly took a look at it and helped me with one of my issues (mainly the middle blossom).  Per her advice, I added some highlighting to it so that it created the perception of a darker gray.  Does the middle blossom look more rounded and the bottom edge more fluttery? 


Monday, June 2, 2014

RSN Silk Shading- Almost Finished!

Getting close to being finished with this piece!


Williamsburg: RSN Silk and Gold with Tracy Franklin

I love stitching- I know this is no surprise to you.  Part of my love for stitching is the actual act and challenge of stitching, seeing the stitches grow off the material and create new textures and patterns.  However, one of my favorite aspects of stitching is meeting fellow stitchers.  Last week I enjoyed taking the RSN Silk and Gold course with Tracy Franklin in Williamsburg, VA, and I met a lovely group of stitch enthusiasts that reminded me once again why stitching is such a community-based/ inspired/enjoyed art.  So- to my fellow stitchers that I have recently met:  Thank You! for making my time in Williamsburg so wonderful!  And a special Thank You! to Tracy for another wonderful course!

A few photos of Tracy's Waistcoat design that we embroidered with Silk Shading and Gold or metallic threads:


 As you can see, I still had my fair share of challenges with the silk shading!  It started to feel less stressful (which was very exciting), but I still need a lot of practice.   I think I might be able to see that it is going to click with my fingers in the future--which is exciting because I have felt like I have been fighting with this technique (as you know!).
 We made buttons!
 The shading part in the bottom bit of the blossom got taken out a few times!  I'd love to blame it on the lighting in the hotel but in reality my fingers just kept putting in the stitches the wrong way! Practice, practice, practice!
 Buttons finished
 One section getting close to finished
adding in the little leaves